English
English Русский

CMM

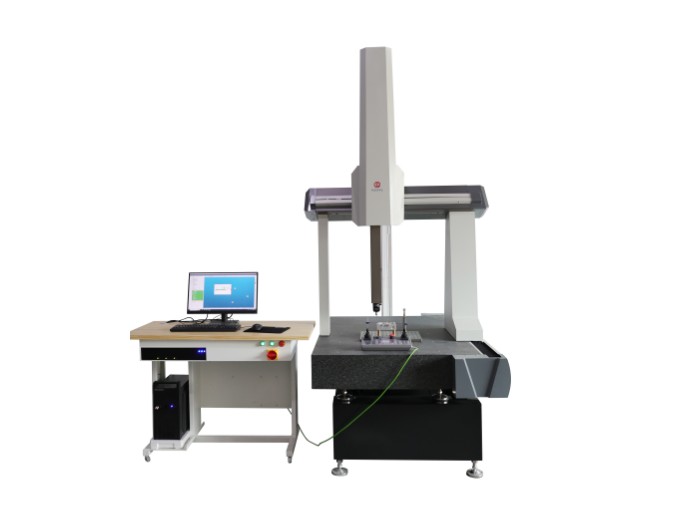
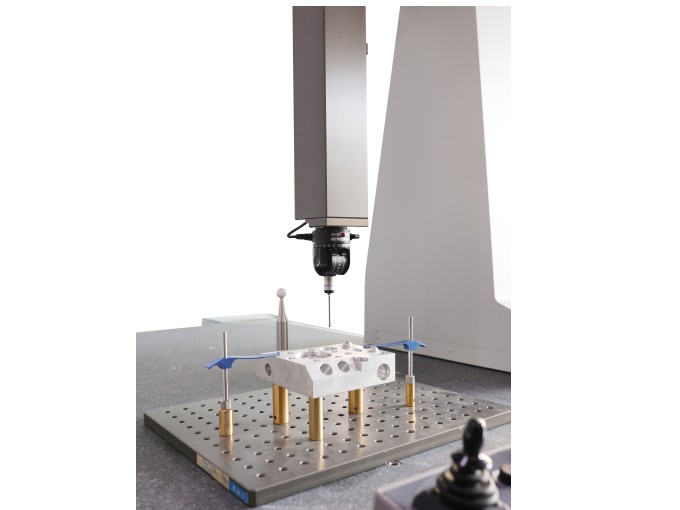
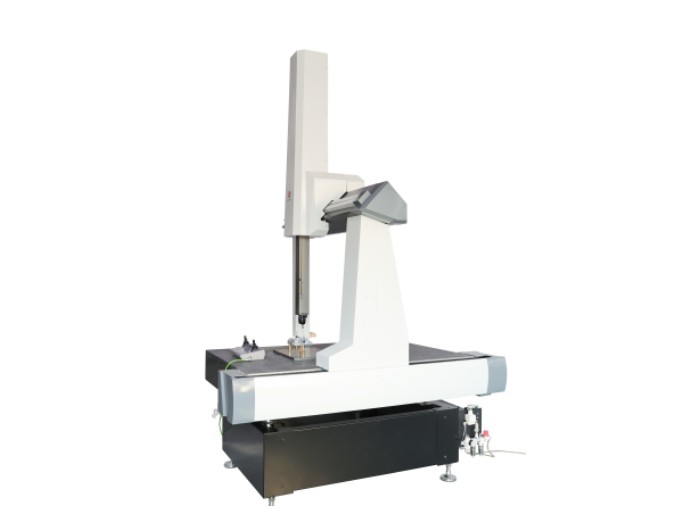
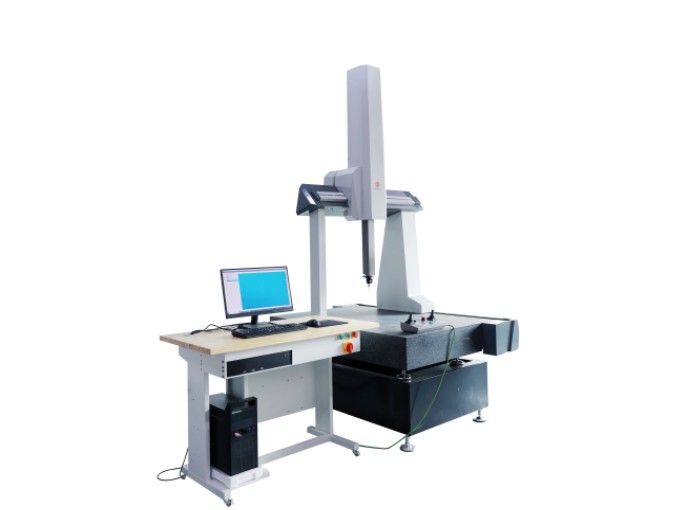
GZ CMM workshop type high-speed measuring machine, with a wide range of temperature, powerful measuring function, stable performance, high precision, simple operation, fast measuring speed, easy maintenance, fast transportation and installation characteristics, the use of ultra-high precision linear guide rail transmission technology, the use of high rigid screw and belt two transmission mode, with temperature compensation system, especially suitable for small space, workshop, and automatic production line unit, and can also be used as an independent special fast contrast test. DMIS universal, various modular software functions (intelligent measurement of electrodes and molds, fast comparison function of three coordinates, standard DMIS language, standard CAD function, support for various production systems MESQ-DAS).
Maximum permissible error of indication of a CMM for size measurement (m) 2.8 + 3L/1000
Maximum permissible Probing Error ( um) 2.8
3D positioning speed(mm/s) 520
3D acceleration (mm/s2) 1386
MAIN PARTS
FEATURE
PARAMETERS
MAIN PARTS
Extract's part data directly from CAD. Inspection routines are simplified created by pointing and clicking on CAD.  Programming can be completed by clicking the workpiece model, simple and convenient Create auto features from a single click on the CAD model without using any menu options or dialog boxes Supports multiple protocols for linking to CAD. General purpose CAD files such as UG,SAT,IGES or STEP can be used directly. Provide probe path animation, use dynamic measuring machine models, automatically edit measurement procedures based on workpiece and fixture CAD, and automatically check probe collisions Create an alignment with one click of an icon.   3D Intelligent programming functions Based on measuring the size and characteristics , executable program in any part of the specified size, quickly implement some characteristics of the re-inspection or sampling Completely follow international GD&T evaluation standard, comprehensive coverage of ISO and ASME Y14.5 standard Provide form tolerance evaluation, shape tolerance include straightness, flatness, roundness, cylindricity, profile. Position tolerance evaluation of relative reference geometric elements: parallelism, perpendicularity, inclination, symmetry, position, coaxiality, concentricity, axial circular runout, radial circular runout, axial total runout, radial total runout, profile.
FEATURE
Natural Granite
00-grade natural granite base, column and worktable make it strong rigidity and small deformation to ensure stable accuracy.
Precise Positioning:
Precise ball screw drive design, realizing fast movement and precise positioning.
Precision Linear Guide:
Three-axis adopts precision linear guide to ensure stable accuracy and machine service life.
Servo Motor:
Adopt servo motor to ensure positioning accuracy, thereby ensuring repeatability.
PARAMETERS
Technical Specifications
 

Measuring Strokes(mm)

Overall Dimension (mm)
Machine Weight
Max. Part Weight
X Y Z Lx Ly Lz
700 1000 600 1250 1935 2729 1600kg 1800kg
Accuracy is according to GB/T 16857.2-2006ISO 10360-2:2001
Maximum permissible error of indication of a CMM for size measurement (mm) Maximum permissible Probing Error (mm)
2.8 + 3L/1000 2.8
Dynamic Performance
3D positioning speed(mm/s) 3D acceleration (mm/s2)
520 1386

Environment Specifications:

Room Required Specifications
Room Temperature 1822°C
Temperature Gradient (in time) 1°C /h
Temperature Gradient (in time) 2°C /24h
Temperature Gradient (in the volume) 1°C /m
Humidity Required Specifications
Relative humidity 25-75
Air Supply System Required Specifications
Min. air pressure 5 bar [0.5 MPa]
Air consumption 150 NL/min
Electrical requirements
Voltage 220 V ± 10%
Frequency 50/60 Hz
Current 15 A
A good earth ground (less than 4 W) is required for reliable operation of the electrical controls.
Сопутствующая продукция
Global classic cases witness quality
Copyright © 2020 suzhou gz international corporation All Rights Reserved.
Technical Support: Coverweb